Creating your own scented candles at home is a fun and rewarding DIY project that anyone can tackle. Not only do homemade candles add a personal touch to your home decor, but they also make thoughtful gifts for friends and family. Here’s a detailed guide on how to make your own scented candles from scratch.
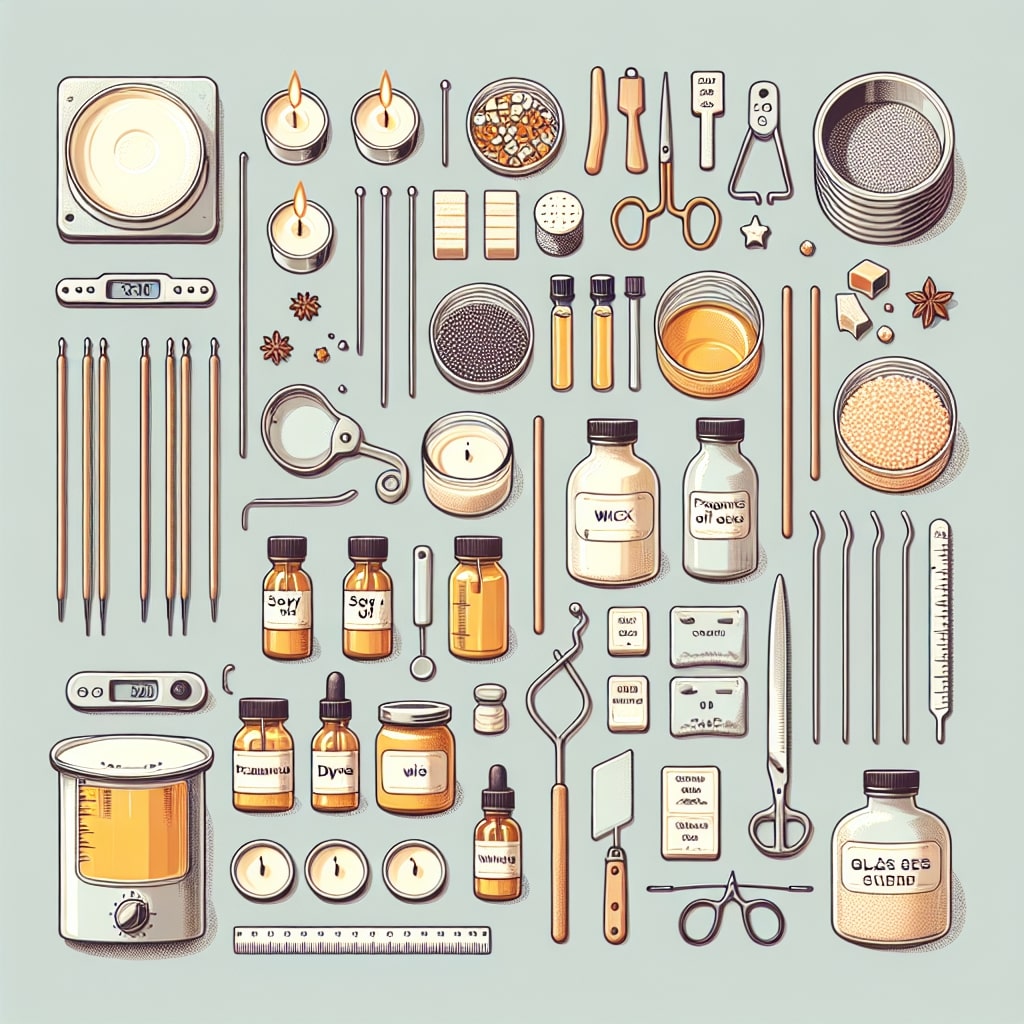
Materials and Tools Needed:
- Candle Wax: Soy wax is a great choice for beginners due to its clean burn and ease of use.
- Wicks: Make sure they are appropriate for the size of your container.
- Fragrance Oils: Choose your favorite scents. Essential oils can also be used.
- Dye Chips or Liquid Dyes: For adding color to your candles.
- Candle Containers: Glass jars or tins work well.
- Double Boiler: For melting the wax safely.
- Thermometer: To monitor wax temperature.
- Stirring Stick: A wooden or silicone stick is ideal.
- Wick Holder: To keep the wick centered while the wax sets.
- Scissors: To trim the wick.
Step-by-Step Instructions:
- Prepare Your Workspace:
- Cover your work area with newspaper or a silicone mat to catch any spills.
- Arrange all materials and tools within easy reach.
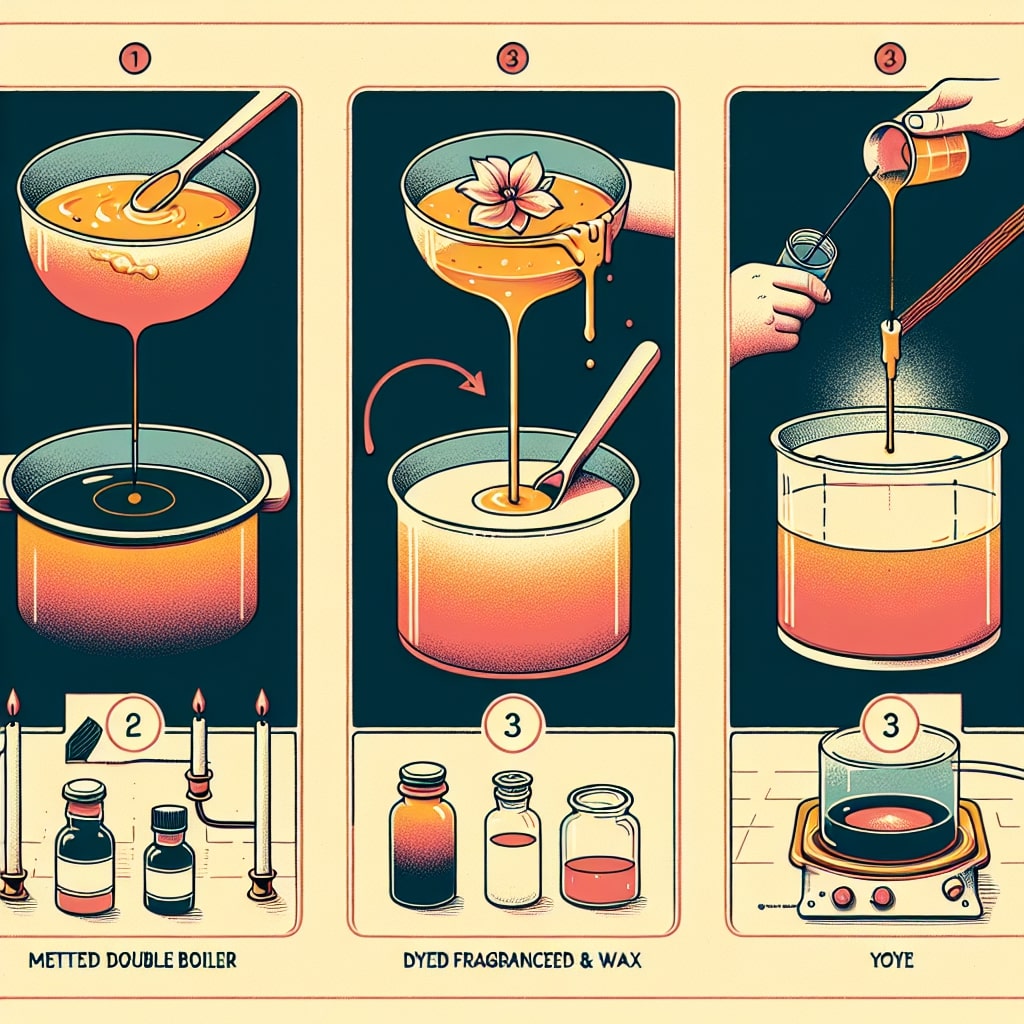
- Measure and Melt the Wax:
- Measure the amount of wax needed for your containers. As a general rule, 1 pound of wax will fill about two 8-ounce jars.
- Use a double boiler to melt the wax gently. Stir occasionally and heat until the wax reaches about 185°F (85°C).
- Add Fragrance and Color:
- Once the wax is melted, remove it from heat. Allow it to cool slightly to 175°F (80°C) before adding fragrance oil. This prevents the scent from burning off.
- Stir in approximately 1 ounce of fragrance oil per pound of wax, adjusting to your scent preference.
- Add dye chips or liquid dye for color. Start with a small amount and increase until you reach the desired shade.
- Prepare the Containers:
- While the wax cools, secure the wick to the bottom of the container using a wick sticker or a dab of hot glue.
- Use a wick holder to keep the wick centered.
- Pour the Wax:
- Slowly pour the wax into the prepared containers, leaving about half an inch at the top.
- Re-center the wick if needed and allow the candles to set for several hours, preferably overnight.
- Trim the Wick:
- Once the wax has completely cooled and set, trim the wick to about 1/4 inch above the wax surface.
Customizing Your Candles:
- Scent Combinations: Experiment with combinations like lavender and vanilla or eucalyptus and mint for unique scents.
- Layered Colors: Pour wax in layers, allowing each to set before adding the next for a striped effect.
Safety Precautions:
- Always melt wax in a well-ventilated area and avoid overheating.
- Keep flammable materials away from your workspace.
- Never leave the melting wax unattended.
Troubleshooting Tips:
- Uneven Surface: A heat gun can help smooth out the top if it sets unevenly.
- Weak Scent Throw: Ensure you’re using enough fragrance oil and mixing it at the correct temperature.
Benefits of Homemade Candles:
- Cost Savings: Making candles at home is often cheaper than buying store-bought ones.
- Customization: You can tailor the scent and appearance to your liking.
- Personalized Gifts: Handmade candles make excellent gifts for any occasion.
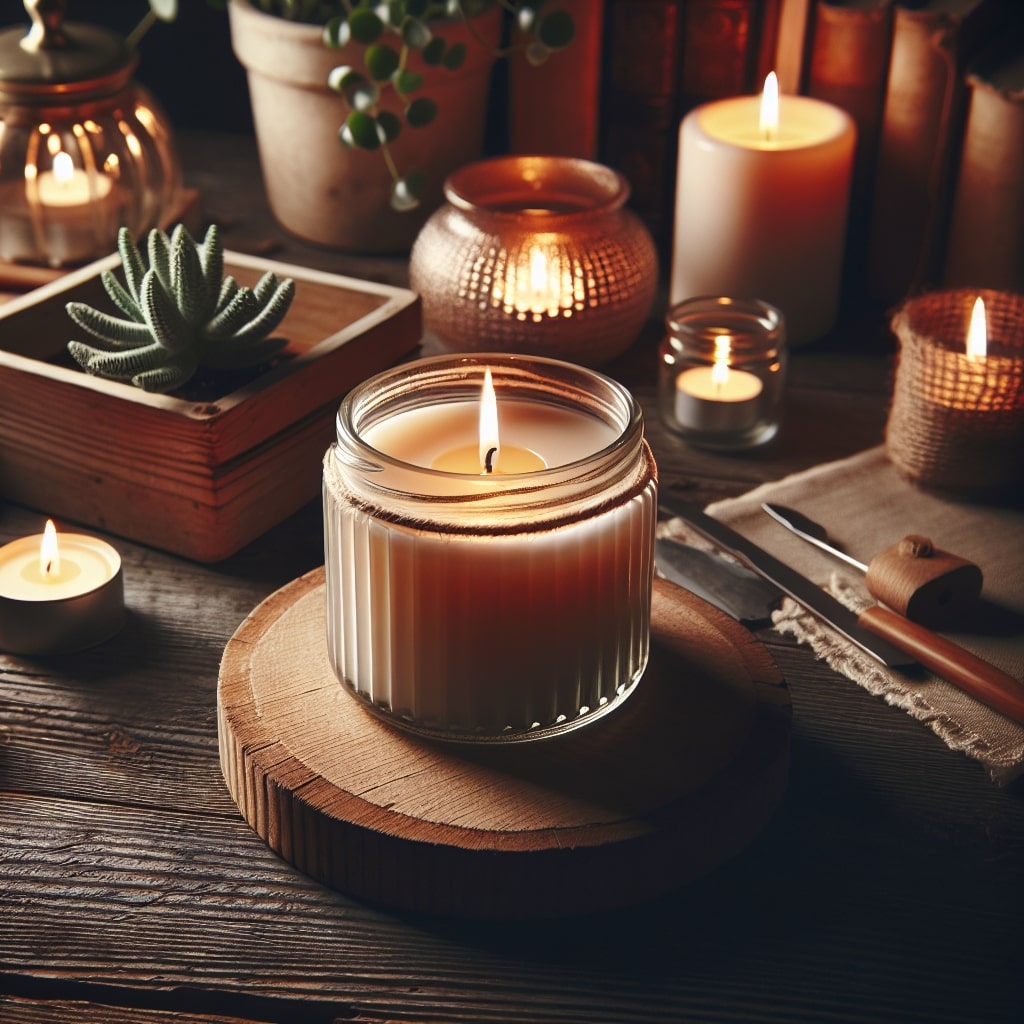
By following these steps, you’ll be able to create beautiful scented candles that enhance any space with warmth and fragrance. Enjoy the process and the fruits of your labor!
Candle Making FAQ
Q1: What is the best type of wax for beginners?
A1: Soy wax is ideal for beginners due to its clean burn and easy handling. It is also eco-friendly and holds fragrance well, making it a popular choice for homemade candles.
Q2: How do I choose the right wick for my candle?
A2: The wick size depends on the diameter of your candle container. Generally, larger containers require thicker wicks. Refer to the wick manufacturer’s guidelines to select the appropriate wick for your specific wax type and container size.
Q3: How can I achieve a strong scent in my candles?
A3: To ensure a strong scent, use high-quality fragrance oils and add them to the wax at the right temperature, typically around 175°F (80°C). Use about 1 ounce of fragrance oil per pound of wax, adjusting according to your preference.
Q4: What should I do if my candle is tunneling?
A4: Tunneling occurs when the candle burns down the center, leaving wax on the sides. To avoid this, ensure the first burn lasts long enough for the wax to melt across the entire surface. If tunneling has already occurred, wrap aluminum foil around the top of the candle and burn it for a couple of hours to help even out the surface.
Q5: How can I fix an uneven burn?
A5: An uneven burn can often be corrected by using a heat gun to melt the top layer of wax and allow it to set smoothly. Alternatively, ensure the wick is centered and trim it to 1/4 inch before each burn to promote even melting.
Q6: Can I use essential oils instead of fragrance oils?
A6: Yes, essential oils can be used, but they may not provide as strong a scent throw as fragrance oils. Experiment with different amounts and combinations to find what works best for you, keeping in mind that some essential oils can affect the consistency of the wax.
Q7: How do I create layered candles with different colors?
A7: To create layered candles, pour one colored wax layer into the container and let it set before pouring the next. Repeat this process for each layer, ensuring each one has cooled sufficiently to prevent colors from blending.
Q8: What safety measures should I follow during candle making?
A8: Always melt wax in a double boiler to avoid direct heat, never leave melting wax unattended, and work in a well-ventilated area. Keep flammable materials away and use protective gear like gloves if necessary.
Q9: Why is my candle’s scent weak when burning?
A9: A weak scent might result from insufficient fragrance oil or adding it at an incorrect temperature. Ensure you’re using the recommended amount of fragrance and that it’s mixed into the wax at the correct temperature to optimize scent throw.
Q10: Can I reuse old candle jars and leftover wax?
A10: Yes, old jars can be cleaned and reused. Leftover wax can be melted and combined with new wax to make fresh candles. Just ensure any remaining wax is clean and free of debris.
Conclusion
Congratulations on completing your candle-making journey! By crafting your own personalized candles, you’ve not only created something beautiful for your home but also tapped into a rewarding DIY experience. The satisfaction of blending unique scents and colors is unmatched, and these candles make perfect gifts that carry a personal touch.
Embrace the freedom to experiment with different fragrances and designs, transforming each candle into a unique masterpiece. DIY candle making is not only cost-effective but also allows endless customization, making it a wonderful hobby to develop. As you hone your skills, you’ll discover even more creative possibilities.
We’d love to see your creations and hear about your experiences, so feel free to share your candle-making triumphs with us. If you enjoyed this project, consider exploring more DIY endeavors to continue your creative journey. Keep shining brightly and happy crafting!
