Learn how to make your Facebook account private with this step-by-step guide. Keep your personal information secure and control who can see your posts.
Introduction
Are you looking to make your Facebook account more private? In this beginner’s guide, we will walk you through the steps to set up a private account on Facebook. By following these simple instructions, you can control who sees your posts and protect your personal information. Let’s get started!
Log in to Facebook

To begin, log in to your Facebook account using your username and password. If you don’t have an account yet, you can easily create one by visiting the Facebook website and following the sign-up instructions.
Access Your Account Settings
Once you are logged in, go to the settings menu. You can find this by clicking on the downward arrow in the top right corner of the Facebook homepage. From the drop-down menu, select “Settings” to access your account settings.
Adjust Your Privacy Settings
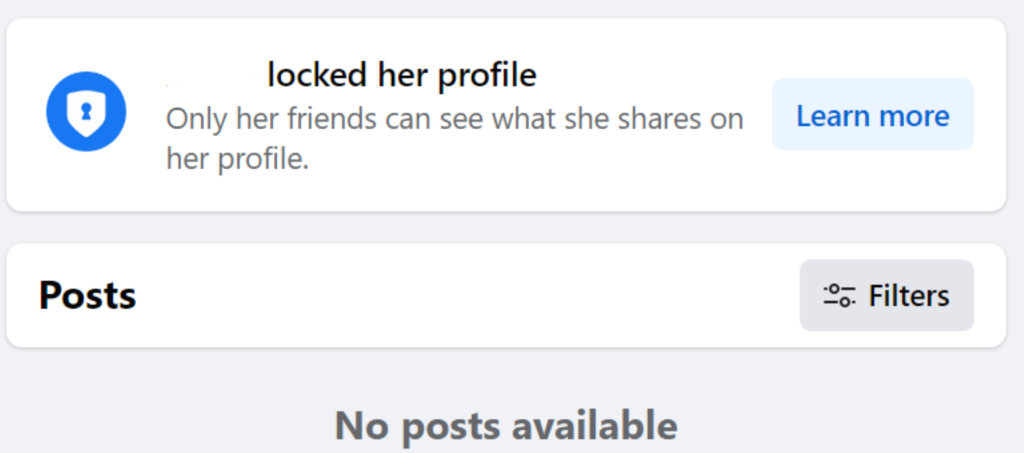
In the settings menu, navigate to the “Privacy” tab on the left-hand side. Here, you will find various options to control who can see your posts, friend requests, and personal information. To make your account private, adjust the settings to limit the visibility of your posts and profile to only your friends.
Customize Your Audience
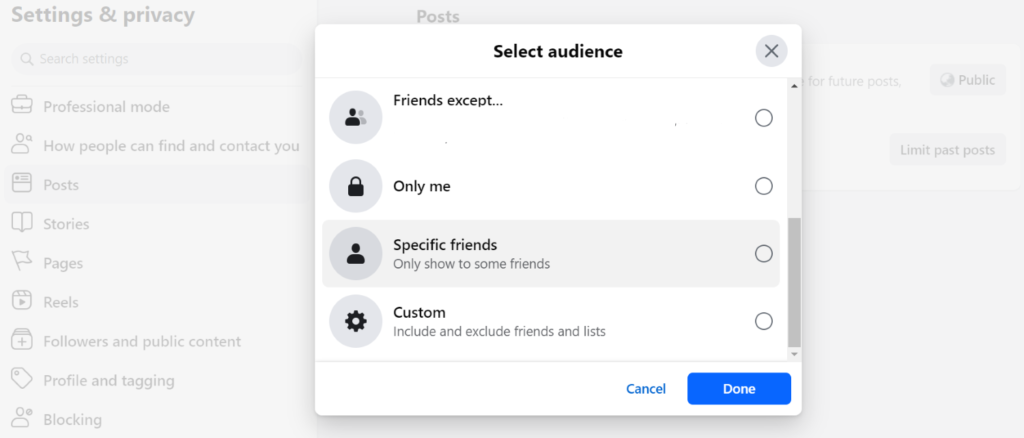
Facebook allows you to customize the audience for each post you make. When creating a post, click on the audience selector tool to choose who can see your post. You can select from options such as “Friends,” “Only Me,” or create custom lists to control who sees your content.
Manage Your Friend Requests
To further enhance the privacy of your account, you can manage your friend requests and block unwanted users. In your settings menu, go to the “Privacy” tab and select “Edit” next to the “Who can send you friend requests?” option. Here, you can choose to allow only friends of friends or customize the settings to your preference.
Review Your Profile Information
Lastly, make sure to review your profile information and adjust the privacy settings for each section. You can control who can see your contact information, work and education details, and personal photos. By customizing these settings, you can ensure that only your approved friends have access to your personal information.
Conclusion
Congratulations! You have successfully set up a private account on Facebook. By following these steps, you can control who sees your posts, protect your personal information, and enjoy a more secure online experience. Remember to regularly review your privacy settings and adjust them as needed to maintain your privacy on Facebook.
By following this guide, you can make your Facebook account private and enjoy peace of mind knowing that your personal information is secure. If you have any questions or need further assistance, feel free to reach out to Facebook’s Help Center for additional support. Stay safe and enjoy using your private Facebook account!


